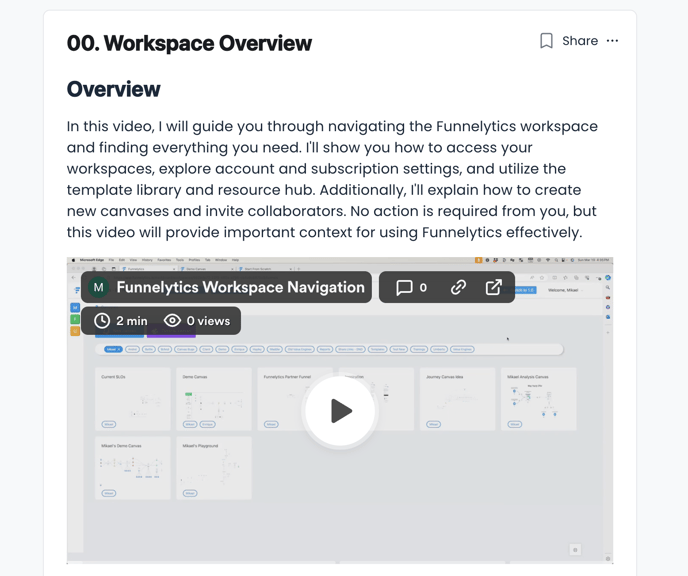
This quick overview will help you get familiarized with the Funnelytics Workspace.
Canvases
The very first tab on the top sidebar is Canvases. This where your funnels live. You can create an unlimited number of canvases.
Collaborate:
You can simply add a collaborator by:
- Clicking on the Collaborate tab in your workspace
- Click on the Invite Collaborator button
- Fill the form that pops up with the relevant information
- Click Send Invite
When inviting collaborators keep in mind that they will have access to all funnels within the workspace. Add their name, email and select "Read and Write" access permissions.
Those with "Read and Write" permission will inherit all of the admin email account permissions for the exception of access to the Workspace Settings and Collaborate tabs. They will be able to edit maps, add UTMs etc.
If the invitee does not yet have a Funnelytics Mapping account, in order to access the invited too account, the invitee must first create a free account at www.funnelytics.io/register
Distinct workspaces will be indicated in coloured boxes on the left, labeled by the first character of the workspace title.
Integrations:
Filter your data in real-time to quickly gain insights and identify what channels & funnels are working vs what’s causing bottlenecks.
Settings:
This is where you can edit the name of your workspace, access the Funnelytics Tracking Script, Blacklist IPs, Reset Statistics, access the Webhook secret key and add all cross domain/subdomain URLs.
Please be really careful with the Reset Statistics function as we won't be able to restore lost information.
For this reason and to limit the access to the tracking script, only the accounts admin email has access to the Settings and Collaborate tabs.
Something missing?
if something is missing in the documentation or if you found some part confusing, please reach out to support team, with your suggestions for improvement.
We love hearing from you!